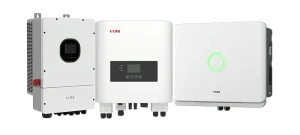
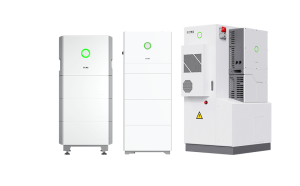
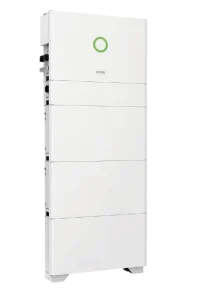
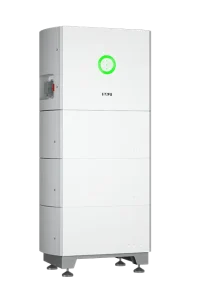
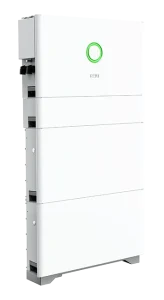
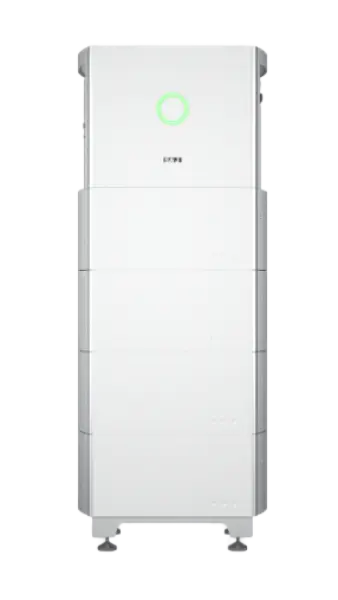
Sistema de almacenamiento de energía monofásico todo en uno HS2-3k~6k
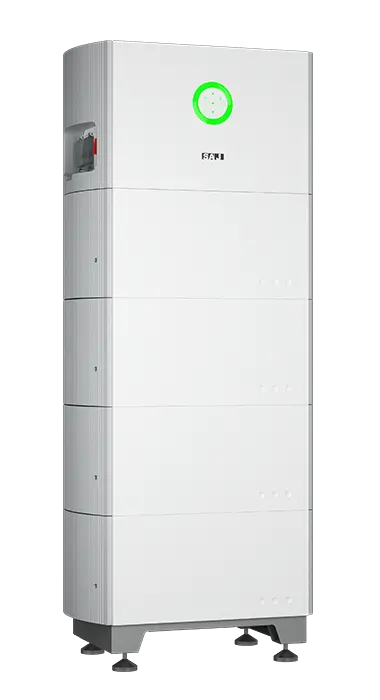
Technical Specifications
| AC Power | 3kW - 6kW |
|---|---|
| Inverter Type | All-in-one hybrid energy storage system |
| MPP Voltage Range | 90 – 500 Volt |
| MPP Tracker | 2 |
| Phases | 1 |
| Communication | CAN, RS485, Wi-Fi, Ethernet, 4G, DRM, Bluetooth |
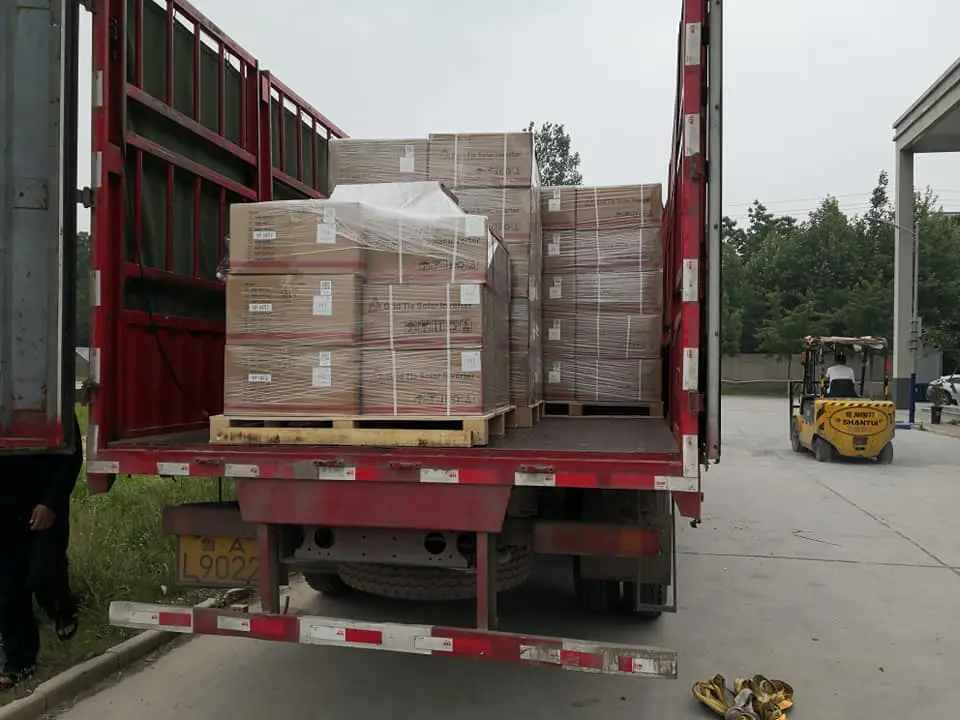
| Pieces per Package | 1 per carton, 8 per pallet |
| Garantía | 10 years |
Product Description
SAJ HS2 3 – 6 kW All-in-One ESS (S2)
SAJ’s all-in-one residential energy storage system integrates a hybrid inverter, BMS and modular battery into a single IP65 outdoor unit.
With 16 A string current, <10 ms UPS backup and up to 20 kWh of storage, it offers a simple, quiet and powerful solution for maximising home energy independence.
Design
| Inverter Size (H×W×D) | 354 × 626 × 365 mm |
| Battery Size (per 5 kWh) | 261 × 626 × 365 mm |
| Weight (Inverter / Battery) | 25 kg / 52.5 kg |
| Cooling | Natural convection < 35 dB |
| Enclosure | Aluminium, IP 65 |
PV & AC Specs
| Rated AC Power | 3 / 3.6 / 4 / 4.6 / 5 / 6 kW |
| Max PV Power | 4.5 – 9 kW DC |
| MPPTs / Strings | 2 × 1 (90–500 V, 16 A ea.) |
| Grid Output | L+N+PE, 220/230/240 V |
| UPS Backup | 3 – 6 kVA, < 10 ms transfer |
| Máxima eficiencia | 97.6 % |
| THD (grid) | < 3 % |
Battery Specs
| Chemistry | LiFePO4 (HV 85–450 V) |
| Capacity | 5 – 20 kWh (1 to 4 modules) |
| Charge / Discharge | 30 A max (all models) |
| Round-trip η | Up to 96.6 % |
Smart Functions
- Self-Use, Time-of-Use & Backup modes
- Zero-export & dynamic limit via smart meter
- AC retrofit for existing solar systems
- Optional AFCI & Rapid Shutdown (RSD)
- Bluetooth LCD + eSAJ Home app; Wi-Fi / Ethernet / 4G cloud & OTA updates
Safety & Compliance
- DC switch, Type II SPDs, RCMU, GFCI, DCI & insulation monitoring
- Active anti-islanding, AC short-circuit & overload protection
- Battery reverse-polarity & over-voltage safeguards
- Meets IEC 62109, EN 50549, AS 4777.2, VDE-AR-N 4105, CEI 0-21
Install & Service
- Modular design for ground or wall mount
- Internal wiring for clean, fast installation
- Commission in minutes via eSAJ Home app
- Global SAJ service network
Garantía
| Standard Cover | 10 years |
Product Resources
Download the latest user manual & datasheet:
Product Video Showcase
Watch our product demonstrations and tutorials
HS2 ALL-IN-ONE Residential Energy Storage Solution Installation Guide (Single-Phase)
Video failed to load
SAJ H2 & HS2 series Initialization Setting - Sept. 2024
Video failed to load
Explore why HS2 series so far is the most popular SAJ ALL-IN-ONE residential energy storage system
Video failed to load
HS2 Webinar in English
Video failed to load
SAJ Electricity Meter setting(H2/B2/HS2/R6/C6,etc)
Video failed to load
SAJ Spotlight @GENERA: Smart Residential Energy Storage Solutions
Video failed to load
Application Scenarios
Discover how this product can be used in different real-world scenarios
Home Studio: Quiet, Clean Power for Recording & Streaming
Who it’s for: Creators who need steady, silent power for DAWs, audio interfaces, microphones, LED lights, and streaming gear—without pops, reboots, or fan noise.
Suggested backup map:
| Device | Typical power | Backup? | Notas |
|---|---|---|---|
| Audio interface + preamps | 10–35 W | Yes | Avoid USB reconnect mid-take |
| Studio PC / laptop | 120–300 W | Yes | Protects DAW session from crash |
| Nearfield monitors (pair) | 40–120 W | Yes (mixing) | Mute during transfer test to avoid thumps |
| LED key/fill lights | 20–80 W | Opcional | Low surge, stable color temp |
| HVAC / heater / kettle | kW-class | No | Keep off backup to avoid inrush |
Noise & grounding checklist:
- Place the ESS stack outside the live room (utility corner/closet).
- Run a single backup power strip for only studio gear to minimize ground loops.
- Separate audio and lighting cables; cross at 90° if they must meet.
- Do a 2-minute outage test; watch for pops, clicks, or USB reconnects.
Simple daily schedule (recording day):
09:00–17:30 PV → Studio + charge battery 17:30–22:00 Battery → PC, interface, monitors, LEDs Always Reserve SOC 25–30% for late sessions
Quick sizing hint (example only): A 10 kWh usable pack can support ~300–350 W of studio essentials for ≈24–28 hours total runtime (spread across sessions).
“A power blink used to ruin takes; now the meters don’t even twitch.” — Producer, home studio
Urban Home Office: Quiet Backup for Work & Study
Who it’s for: Apartments or townhouses that need silent, space-saving backup for laptops, Wi-Fi, lighting and a fridge during short grid issues.
Suggested backup pack (example):
| Load | Power | Run time target |
|---|---|---|
| LED lighting (3–5 rooms) | 150–250 W | 4–6 h |
| Wi-Fi router + CCTV | 30–60 W | 24 h |
| Laptop / small PC | 60–120 W | 6–10 h |
| Fridge (inverter type) | 90–150 W avg | 24 h (duty) |
3 quick steps:
- Move essential sockets to the BACK-UP sub-circuit; label clearly.
- Set a reserve SOC (e.g., 25–30%) to keep evening buffer.
- Run a 2-minute outage test; confirm no flicker or device reboot.
Simple daily plan: Daytime: PV → Loads; surplus → Battery Evening peak: Battery → Lights/IT (18:00–22:00) Night buffer: Reserve SOC 25–30%
“Power dipped mid-call — laptop and Wi-Fi stayed up. Zero interruptions.”
How We Work With You
From your first call to final delivery, we make the process simple and clear
Talk & Plan
We listen to your needs and create a plan that works for you. Our team will help you understand all your options.
Quote & Agree
You get a clear price with no hidden costs. Once you're happy with everything, we sign the agreement and start working.
Make & Check
We carefully make your order and check everything meets our high standards. You'll know exactly how things are going.
Ship & Support
Your order ships safely to you on time. We're always here to help if you need anything after delivery.
Frequently Asked Questions
Find answers to common questions about our products and services
What should I prepare on-site so installation is fast and clean?
Goal: a one-visit install with tidy wiring and zero callbacks. Do these before your electrician arrives.
| Area | What to get ready |
|---|---|
| Mounting location | Flat wall or base stand; dry, ventilated utility space; clear cable path to DB and roof strings |
| Board planning | Decide which circuits move to BACK-UP (lights/IT/fridge). Label backup vs non-backup in advance |
| Conduits & routing | Pre-run AC, PV, and battery conduits with pull lines; leave 15–20% spare space for future add-ons |
| Network | Wi-Fi SSID/password or Ethernet drop near the unit for app/portal access |
Pre-flight (5 steps):
- Mark drill holes with the template; verify vertical clearance for future battery additions.
- Stage connectors by circuit (PV / BAT / GRID / BACK-UP) to avoid cross-wiring.
- Print a one-page list of loads going to BACK-UP and tape it on the board.
- Prepare the router login; check signal at the install spot.
- Plan a 2-minute outage test for handover (evening or after business hours).
Common mistakes to avoid:
- Putting high-inrush devices (OVEN/large compressor/EV charger) on BACK-UP.
- Routing PV and data cables in the same metal conduit without separation.
- No labels on backup sockets → users plug heavy tools there by accident.
“Site prepped like this cuts commissioning time by half.” — Installer note
What support does Sunriver Electric provide around HS2 projects (from quote to shipment)?
Focus: make procurement simple and predictable for installers and distributors — clear choices, clean docs, and transparent shipping info.
| Stage | What you get | Why it helps |
|---|---|---|
| Model matching & quote | FOB pricing and model suggestions aligned to your load profile and roof layout | Speeds up decisions; avoids over/under-sizing |
| Documentation pack | Latest datasheet, Quick Guide, User Manual, and test certificates (digital PDFs) | Smooth utility filings and internal approvals |
| Pre-shipment checklist | Packing list with SNs, carton specs & gross weight; outer-box label sample; loading photos on request | Faster warehouse check-in; better traceability |
| After-shipping updates | Vessel/flight info and B/L or tracking number; exception alerts if delays occur | Transparent progress; easier site scheduling |
On request:
- Simple wiring overview (for team briefing before installation)
- FAQ kit (backup branch planning, TOU examples, commissioning checklist)
- Certificate language packs (e.g., English/Spanish/Thai)
How to speed up your quote (send these 6 bullets):
- Site type and peak loads (home/shop/clinic; evening vs daytime)
- Roof plan (two MPPT splits, rough panel count if known)
- Target backup circuits (lights/IT/fridge etc.)
- Desired battery capacity (usable kWh) or runtime goal
- Country/grid standard for compliance docs
- Target ship week and destination port
Contact: sales@sunriver-electric.com — reply with the six bullets above and we’ll return a clean, ready-to-use pack.
How do I design the backup circuit for everyday outages?
Goal: keep essentials alive (lights, Wi-Fi, IT, fridge) without tripping on motor inrush. Put only steady loads on BACK-UP.
Example backup plan (for a typical home/shop):
| Load | Approx. power | Run time goal | Notas |
|---|---|---|---|
| LED lighting (3–5 rooms) | 150–250 W | 4–6 h | Low surge |
| Router + CCTV | 30–60 W | 24 h | Continuity matters |
| Laptop / POS / small PC | 60–150 W | 6–10 h | Critical work |
| Fridge (inverter type) | 90–150 W avg | 24 h (duty) | Food safety |
- Move essential circuits to BACK-UP terminals; label the sub-board.
- Set a reserve SOC (e.g., 25–30%) so evening outages still have cover.
- Do a 2-minute grid-off test; confirm no device reboots or flicker.
What’s the fastest commissioning path on day one?
- Mount the base + inverter enclosure; keep clearances for ventilation and cable glands.
- Wire AC GRID and BACK-UP to the board; land PV strings to the two MPPT inputs; connect the battery harness.
- Power up DC/AC → open the mobile app → bind device by SN via Bluetooth.
- Select country/grid profile; pick working mode (Self-Use / TOU / Backup) and set reserve SOC.
- Join Wi-Fi/Ethernet/4G for remote access; create the plant for the owner; check live power flow.
5-minute handover checklist:
- Screenshots of final settings (grid profile, reserve SOC, schedules)
- One grid-off test recorded in the app
- Labels on BACK-UP vs non-backup circuits
How do I expand battery capacity later without headaches?
Plan for growth: start with what the client needs now (e.g., 10 kWh usable) and add modules as evening use grows.
Expansion workflow (summary):
- Schedule downtime; power down per manual; isolate AC and PV/DC.
- Add the new battery module(s) to the stack; follow the alignment & fastening steps.
- Reconnect harnesses; power up; in the app, confirm the new total capacity.
- Run a short charge/discharge to ensure modules report correctly.
Good practice: install modules from the same series and keep SOCs close (±5–10%) before coupling, to minimize balancing time.
What can I see in the app, and how does it help owners and O&M?
Daily actions (simple):
- Switch modes: Self-Use / Backup / Time-of-Use
- Set reserve SOC (e.g., 25–30%) to protect evening hours
- Adjust TOU windows when seasons change
- Share viewer access with the homeowner or store manager
- Apply firmware updates without a site visit
Reporting: download monthly energy and savings summaries; useful for utility audits and O&M reviews.
Still have questions?
Can't find the answer you're looking for? Our support team is here to help you.
Related Products
Discover similar products that might interest you
Ready to Talk About This Product?
Tell us what you need—from pricing and availability to technical specs or project planning. Our product team will respond within 24 hours.
- Request tailored quotations and lead times
- Get engineering support and compatibility checks
- Receive product literature and case studies
¡Gracias! Hemos recibido tu consulta.
Our product specialists will reach out within 24 hours. A detailed Thank You page has opened in a new tab.